How to Download a Pattern Purchased on Etsy

Probably 95% of the messages I get on Etsy are from customers that can’t figure out how to download the pattern they just purchased. You are not alone! It’s confusing! Please don’t dock a star from your review because of Etsy’s messy platform- digital sellers know this problem all too well, and we can’t do anything about it.


Mobile:

Do not use the Etsy app. You cannot access downloads from the app at all. In fact, you may need to uninstall or disable the app. (If you do have it installed, it can default to opening the app even if you don’t want it to.)

  • Using your preferred Internet browser, paste this link into the URL bar: https://www.etsy.com/your/purchases

  • Find the pattern, and tap the very small grey arrow to the right. If you don’t see this arrow, it means you are in the app. (A)

  • Tap “Download Files” at the top, next to your order number. (B)

  • Scroll down to find the .PDF downloads, below the seller’s message. (C)


Desktop:

If you have access to a PC or laptop, it’s easier to find the download links.

  • Find the pattern, and tap “Download Files” to the right. (A)

  • Scroll down to find the .PDF downloads, below the seller’s message. (B)


Hope this helps! If you want to link to this page for your own customers feel free!

www.craftytibbles.com/tibz-kool-tipz/etsy-download


Pattern featured in my own purchases: Zoidberg by June Lee (hilarious and great) https://JuneLeeHooker.etsy.com


Etsy’s official help article: www.etsy.com/help/article/3949

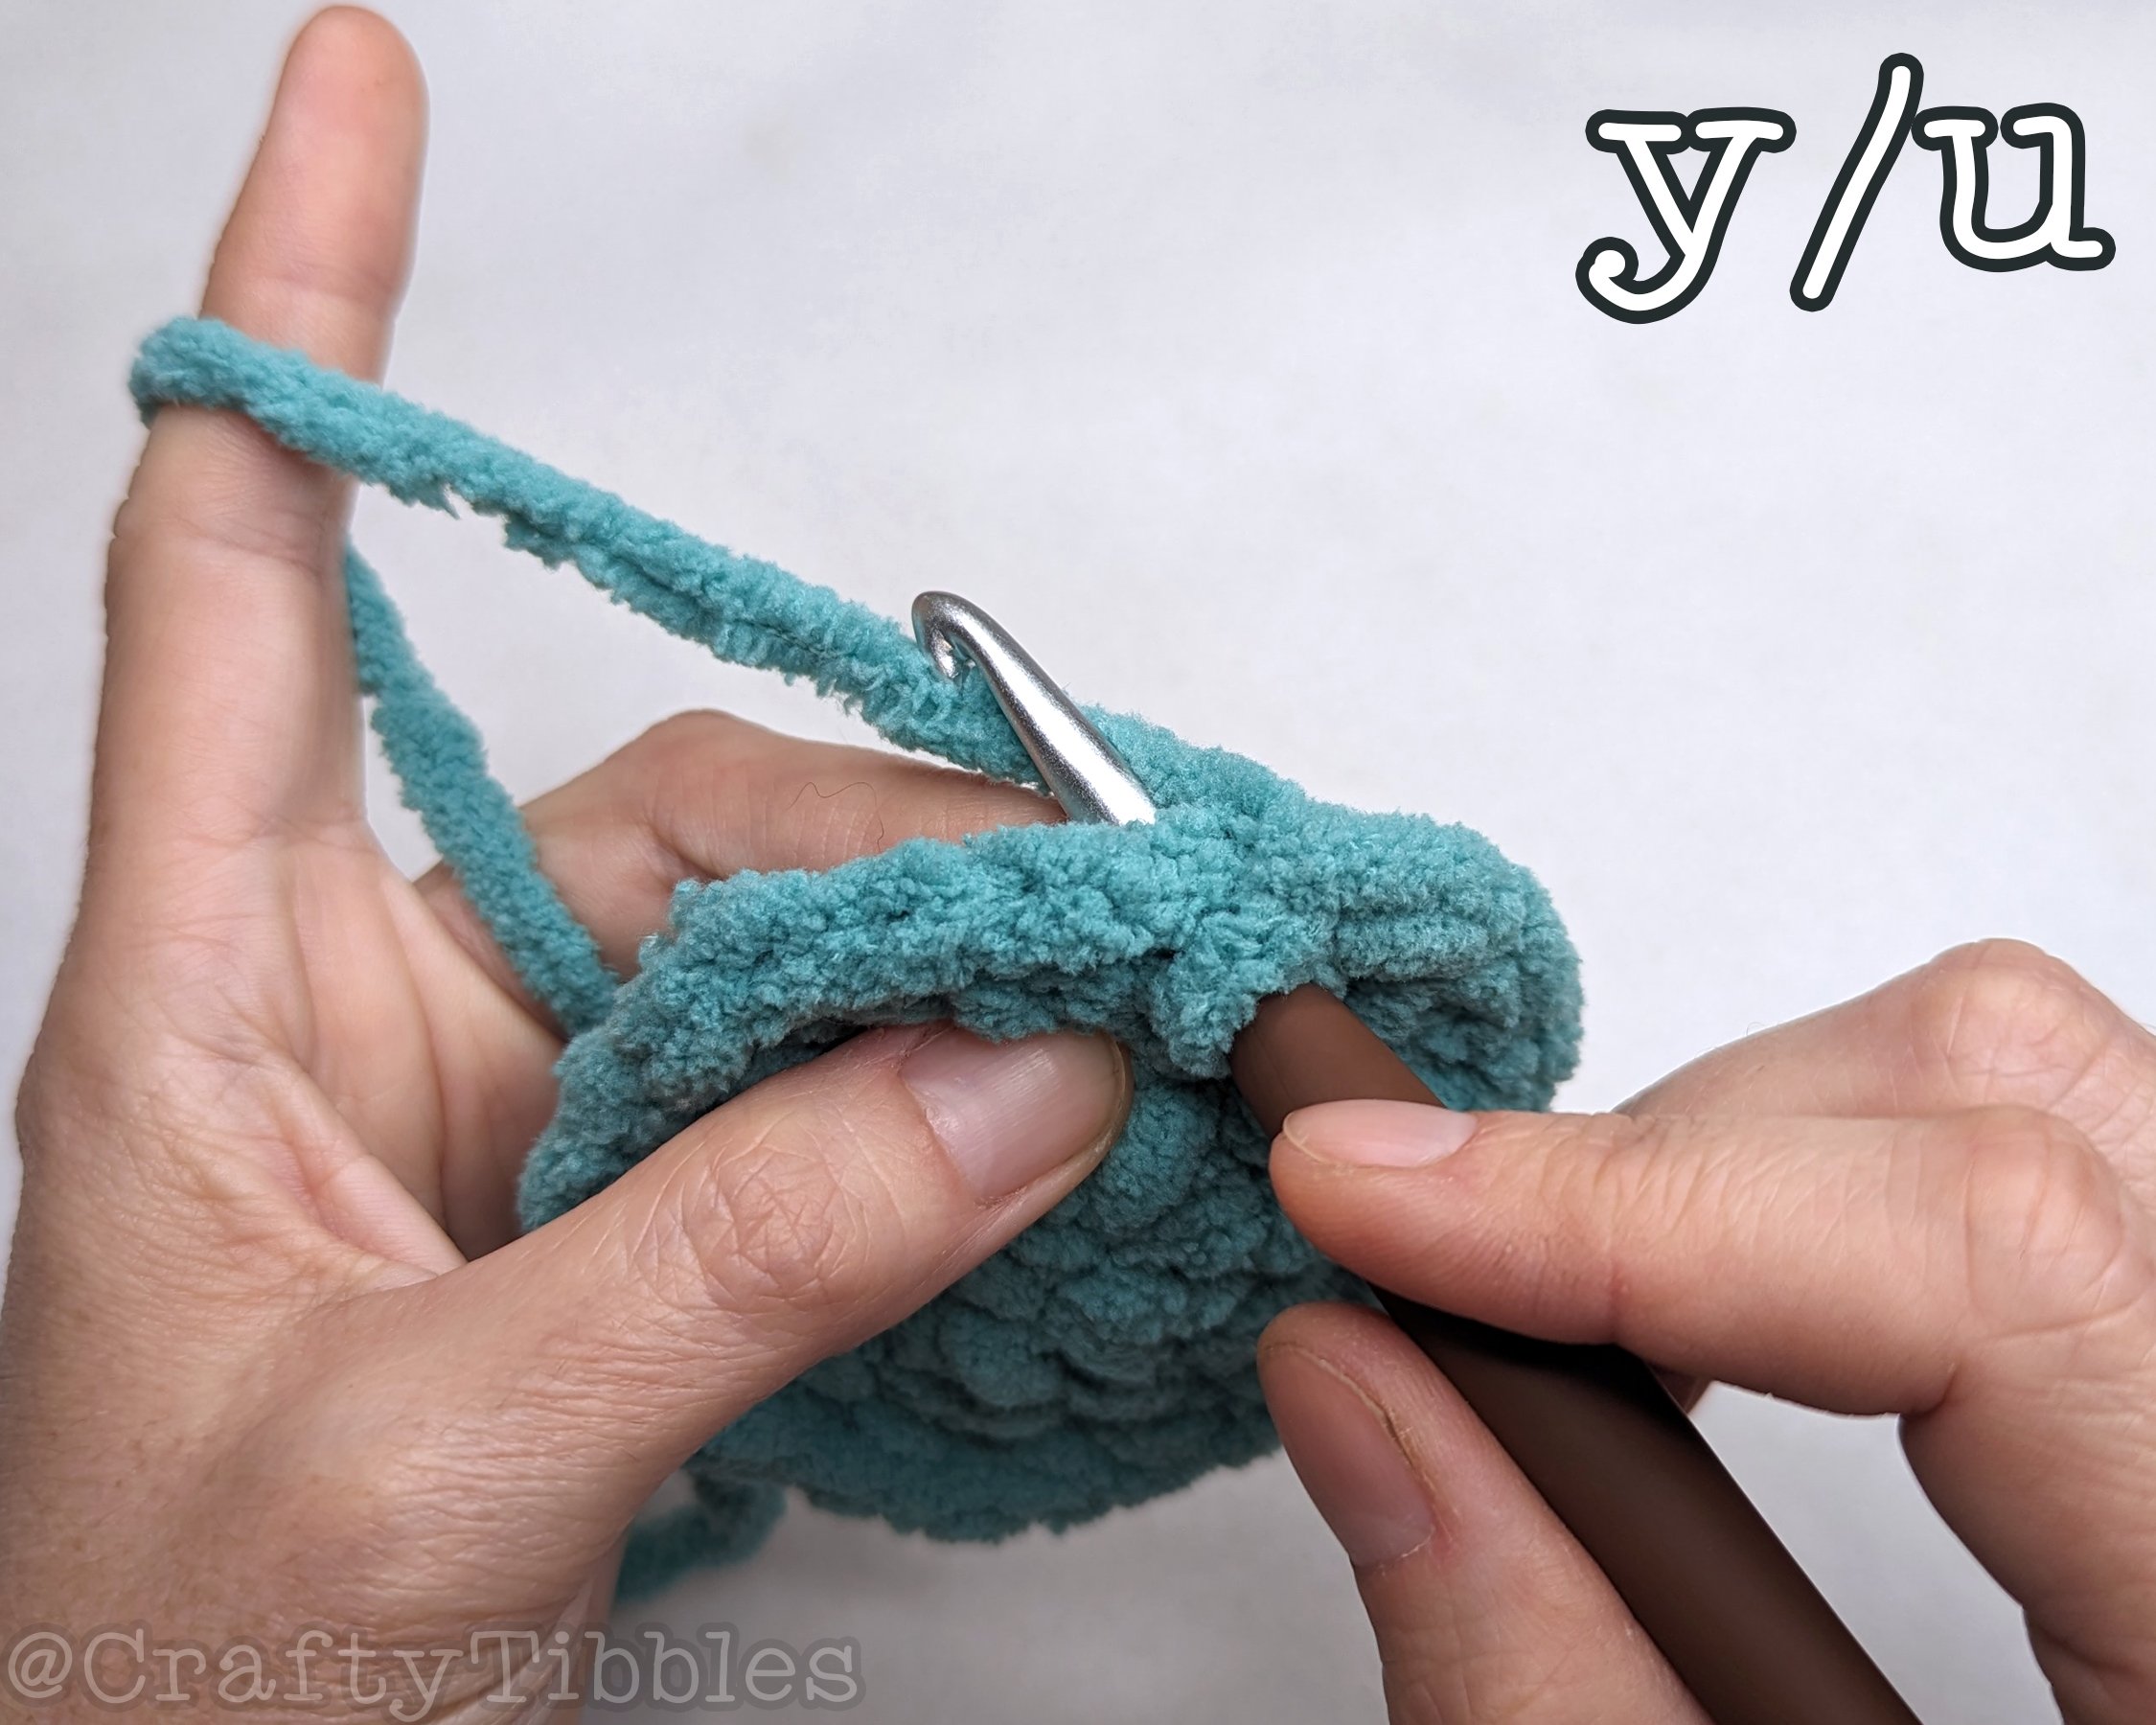
Yarn Over vs. Yarn Under, and Blanket Yarn

The Yarn Over Single Crochet stitch is the standard. If you’ve just started amigurumi, it’s the one you learn first. Check out my video to demonstrate the difference, read on for which is best, and scroll to the bottom for completed projects in both examples.


The Yarn-Under SC has some benefits in worsted weight yarn. It skews less (the stitches line up in columns without much of a slant)- so if you’re working with a lot of color changes, it can look better. The stitches are tighter, without leaving holes, but it’s also harder to weave tails into. In most cases (at least in my patterns), when working with worsted weight (4) or finer, the Yarn Over and Yarn Under are interchangeable, and it’s up to you which look you prefer. (If the pattern doesn’t specify.)

Where it does make a huge difference, is in blanket yarn.

Worsted weight (4) and F hook. Yarn Under turns out slightly smaller.

Blanket (6) and J hook. Yarn Over is so bulky and tall, the shape already cups and won’t lay flat.


Can you use blanket yarn in any pattern? Yes- but with a simple rule change. If you’ve ever tried to make a pattern originally designed for regular or fine yarn, but with blanket yarn, you might notice it comes out longer or skewed. This is because blanket yarn Yarn-Over SC’s are taller in proportion. It’s almost like you made the whole thing with HDC’s instead. But we can prevent that problem!

Yarn-Under SC’s with blanket yarn come out much more proportionally like a SC. If you’re making one of my patterns designed for worsted weight yarn, but with blanket yarn (6), I recommend using a J hook and Yarn Under SC’s.

Both of these were made from my pattern, with the same hook and yarn (J hook, Bernat Blanket Yarn (6)). The blue was made with yarn over, and the yellow was made with yarn-under. The yellow is much more what it’s supposed to look like when made in worsted.


I’m not a huge fan of blanket yarn. It sheds, it’s expensive, it’s terrible to sew with, and you can’t really get any crispy details out of it. I struggled with it for a while without understanding why- but I think I’ve figured it out with the yarn unders. Let me know your experiences with it, and if you do make one of my patterns with this fuzzy nightmare string, tag me! Post a picture in a review so others know it’s possible!


Some examples in worsted: same pattern, different SC’s. Zoom in and see if you can spot the differences!

Yarn-Over

Yarn-Under

Yarn-Over

Yarn-Under

Patterns featured:

Minotaur

Barkley Treeman

Bong

Clean Color Change Between Rounds

A: BLO slst around. B: sc around, working in the BLO of both colors.


Cleanly changing to a new color takes two rounds- but it kinda only looks like one round when you're done.

In my patterns, I call these A and B so you can easily identify and count the rounds on your piece if you lose track. (I do constantly.)

A note about tension- keep your slst’s ~loose~. Slst’s are easy to make too tight. If they’re too tight here, it’s going to pinch the shape closed like a drawstring.

If you want to get real fancy, end the first color with an invisible finish before attaching the new color.


Going straight into a new color in r4, versus prepping r4 with a round of slst’s first.

Going straight into a new color in r4, versus prepping r4 with a round of slst’s first.


The pictured shape would be written out like this:

Start in purple

r1 6sc in magic ring (6)

r2-3 sc around (12)

Change to yellow

r4a blo slst around (12)

r4b sc around (12)

r5-6 sc around (12)


After a round or two more, gently knot the tails (don’t pull too hard! Be just as mindful of your internal knot-tying tension), trim them, and keep on crochetin’. Boom, perfect straight-line color-change!


A small after note: I use to work the slst’s in round A under both loops, then sc through the chunky 3 loops in round B. I abandoned this a method while ago, but if you’re looking close at older dolls, you can see it’s a little different. I’ve since found this new minor change is cleaner, and doesn’t affect the end shape. So this is my suggested method, retroactively and into the future .

Yarn, Tension, and Hook Sizes in Amigurumi

Amigurumi is chill because gauge doesn’t really matter. I know when I try to make anything wearable, I endlessly stress over the gauge. You’re not going to put this thing on, so there’s no fussing with rulers, and no need to get your bust size involved.

What is important is finding a comfortable tension and hook size, accompanied with the right yarn. You want to produce full, cushy stitches, and avoid leaving holes.


There’s tons of amazing amigurumists out there that work in all types and sizes of string! Everyone has their preferred medium, methods, and it’s all valid. These are just my opinions on what works for me, and why my patterns look like they do.


First off: yarn. I am in no way a yarn snob, and you can find me with a shopping basket full of store brand acrylics, baby. Most of my collection is made up of: Red Heart, Caron (One Pound, not the skinny shiny stuff), Michael’s Impeccable, and Joann’s Big Twist. (If any of ya’ll wanna give me free stuff, here I am~)

You’ve probably noticed that Worsted Weight (4) can vary wildly from brand to brand. I prefer a stiff, “itchy” yarn for main structural pieces. I avoid limp, shiny, soft or anti-pilling yarns. (They still have their use- anything that needs to drape, like a cloak, skirt, or hair would be good in one of these yarns. But stuff ‘em and they get full of holes.) If you really wanted to work entirely in a skinnier shiny yarn, you’d have to size down to maybe a D hook. But it just doesn’t make a good stiff fabric that’s gonna hold itself up.

Just out of shot: a pile of more yarn. Katamari Prince is a yarn painting by @artwithanak! Is there anything yarn can’t do?

Just out of shot: a pile of more yarn. Katamari Prince is a yarn painting by @artwithanak! Is there anything yarn can’t do?


Second factor: tension. I crochet pretty loosey-goosey. This seems counterintuitive when you’re just starting amigurumi, and haven’t built enough muscle memory yet. I can see it in my very early work.- I’d stranglehold the yarn, thinking tighter is always better. This usually ends in holes, connected by tight-knots of stitches. It’s also much harder to insert your hook into these choked spaces, and your hands will ache. Pulling slip stitches or a foundation chain too tightly will pinch the whole shape like a drawstring.

You’re looking for a plush, full fabric, that lets the springiness of the yarn fill out every stitch. So relax your grip. Go up or down a hook if you need to, and find what works for you.

Both made with an F hook. The smaller one hurt to make, is too tight, and actually highlights the holes in it. Do the version that doesn’t cause physical pain!

Both made with an F hook. The smaller one hurt to make, is too tight, and actually highlights the holes in it. Do the version that doesn’t cause physical pain!


Finally, the hook size. As I’ve said, it’s pretty subjective in amigurumi, as long as it compliments the yarn. The suggested hook/needle sizes on yarn packaging are meaningless to us, and way too big. They’re assuming you’re making a baby blanket with it, and not a stuffed rat in a trashcan.

These are what my patterns usually call for, but use whatever gives you the best results. Going up or down a hook won’t drastically alter the size of the finished project. But if you are looking to drastically alter the size- I’ve got that covered too.

hook.jpg

My favorite hooks for amigurumi:

(I’ve used Clover Amour hooks for years now. I like the rubbery round grip and the easily identifiable colors.)

  • F (3.75mm) - What I use the most. It is my favorite size, and I literally have my rat-chewed pink hook tattooed on me.

  • E (3.50mm) - I use this when a piece needs to be a little smaller and tighter than the current scale. If you only have one hook, you can achieve this by just working tighter on that piece. (But collecting hooks is fun, and easier on your hands!)

  • J (6.00mm) - With 2 strands held together, this makes a BIG stitch, and can triple the size of your project. (My Sword, and Giant Bong patterns are made this way)

  • C (2.75mm) - With a Fine weight (2) yarn, or a half-strand of worsted (split 2 of the 4 plies.) At half the scale, this is good for small details to be sewn on. Or cut the size of the whole project in half for a tiny version, suitable for an ornament!

All made with the same pattern.

All made with the same pattern.

I hope that answers some frequently asked questions, and inspires you to experiment and get weird. Thanks for coming to my Ted Talk.

Right Side vs Wrong Side

Right handed. For lefties, just mirror each image.

Right handed. For lefties, mirror each image.

As you start, the piece will naturally want to form inside-out. By round 2~4, flip it right side out. You should always be crocheting with the working side close to you, not across the far side as shown.

Look closely at each side of the fabric.

Look closely at each side of the fabric.

For my patterns, this will always be considered the right side out. Being inside-out can alter the intended shape, and it’ll look different from the pattern.

There’s some crocheters that work with this side out, but it’s usually in a smaller yarn or thread. Check the pattern Read Me if you aren’t sure!


But wait! There’s one other case where you do work inside-out! When working with eyelash or fuzzy yarns, the majority of the fuzz comes out on the “wrong” side.

Right handed. For lefties, mirror each image.

This stuff can be a pain to work with, but looks very cool! The “wrong” side in this case is the only side where you can see any stitches at all. I like to work inside-out as long as possible so I can count anything, then flip it fuzzy side out before stuffing.

Look closely at each side of the fabric.

Doll-Making Work Surface

2020-10-05 10.01.36.jpg

DIY Work Surface

For amigurumi, crochet, and doll making

When making amigurumi, you usually end up with a pile of little pieces, parts, limbs, and other bits I will lose in the couch every time. Sewing is also tricky sometimes, and feels like you need 4 arms. I’ve solved this with a simple piece of foam and some crafty odds and ends.

You will need:

  • Foam block

  • Silky Fabric

  • Pins, pins, pins

  • Elastic band scraps

  • Carabiner or keyring for a scissor leash

I believe the foam came from some packaging. The kind of stuff you get shipped in a box and you’re like “dang this is some nice useful-looking trash, I better keep it forever.”

The foam alone was very abrasive on crocheted pieces. I put a pillowcase on it- and found the cotton still too rough, and was felting crocheted pieces with too much contact. Then I found some old scraps of this fancy silky fabric, and that did the trick. Go for a smooth, silky fabric.

2020-02-06 10.12.33.jpg
2020-02-06 10.18.19.jpg
  • Wrap your foam block up like a present.

My scrap wasn’t big enough to cover it entirely, but whatever. Use short pins liberally to keep everything together. You could maybe glue it, but I know a lot of foam is weird when it comes to adhesives. I’ve been using this just pinned for years and don’t have any problems. Just make sure they’re the little pins…. and probably keep it away from little kids.

  • Pin on elastic straps as accessory holders

I’ve got one that holds a hook on top, and one that holds my lil scissors on the side. I’ve also chained my scissors to the block with a mini carabiner and a cord I made out of yarn. I can’t tell you how much time I’ve saved not losing my scissors!


The cool thing about this is how flexible and modular it is! You can add straps, move em’ around, until it’s perfect for how you like to work. It’ll hold your working pins, and smaller yarn needles. I’ve also thought of gluing a magnet under the fabric in a corner, but haven’t gotten to it.

It’s great for lining pieces up to see how something is coming along, holding your pieces in place while you sew, keeping a pile of little feet and arms safe, and makes hair wefts a breeze!


Slipknot each end of the master strand, pin them to the surface, and weft away!

Slipknot each end of the master strand, pin them to the surface, and weft away!


Free Pattern: Flying Eyeball

eyeball1_smole.jpg

While working on a much bigger pattern, I got the idea for this classic little spooky friend! Make a whole bunch in time for Halloween!

If you’d like a compact, downloadable .PDF version, you can get it for $1 through Etsy, Ravelry, or my own store.


eyes.jpg

Eyeball (F)

Start with black

r1 6sc in magic ring (6)

•Cut yarn, pull tail through.
Do an invisible finish

Change to iris color

r2a BLO slst around (6)
r2b *inc* - work through BLO of both colors (12)

•Cut yarn, pull tail through.
Do an invisible finish

Change to white, allow a longer starting tail

r3a BLO slst around (12)
r3b*inc*- work through BLO of both colors (24)
r4-8 sc around (24)

•Use white tail to embroider a shine, 2 passes.

r9 *dec* (12)

•Stuff firmly

r10 *dec* (6)

•Finish off and sew closed.

Work the rB color change through the BLO of each color

Work the rB color change through the BLO of each color


wingaling_smol.jpg
Beginning of r7, tr8

Beginning of r7, then r8

Wings x2 (F)

Start with purple

r1 3sc in magic ring (3)
Ch1, turn
r2 inc, sc, inc (5)
Ch1, turn
r3 sc across (5)
Ch1, turn
r4 inc, sc, sc, sc, inc (7)
Ch1, turn
r5 sc across (7)
Ch1, turn
r6 inc, 5sc, inc (9)
Ch4, turn
r7 3sc (across chain), 9sc (12)
Turn
r8 *{ch2, picot, dc}, sc, slst* x3, 5sc

•Finish off and leave a tail for sewing

symbols_smol.jpg

assembly.jpg
stitches.jpg

Assembly

•Pin the wings into place, tacked onto r5-7 of the eyeball.

•Sew the end square of the wing to the eyeball, with 5 or 6 hidden running stitches.

•The very last thing I always do is starch my dolls with a wetblocking technique I developed. An extra starchy hold on the wings is good-
You can read about it here

•Use fishing line or a clear jelly yarn to hang them! I made a big messy knot, and pushed it into the crochet.


eyeballs2_smol.jpg

You're all done! I'd love to see your creations from my patterns, tag me @craftytibbles , email me at craftytibbles@gmail.com, and feel free to ask me any questions.

The Invisible Finish

Lemme introduce you to my best friend, the invisible finish. It’s a great technique. It’s not always necessary, but I use it more often than not.

Use it at the end of a round when you’re about to change colors, or when finishing off a shape for a much smoother transition.

Skip first stitch. Insert hook under both loops from the back. Pull tail through.Skipping that first stitch builds a bridge over the round’s end. It also ensures you end up with the correct number of stitches, and aren’t adding or subtracting any.

Skip first stitch. Insert hook under both loops from the back. Pull tail through.

Skipping that first stitch builds a bridge over the round’s end. It also ensures you end up with the correct number of stitches, and aren’t adding or subtracting any.

Insert hook under BLO of last stitch of the round, from the back. Pull tail through.

Insert hook under BLO of last stitch of the round, from the back. Pull tail through.

Adjust tension as needed.

Adjust tension as needed.

Seamless!

Seamless!

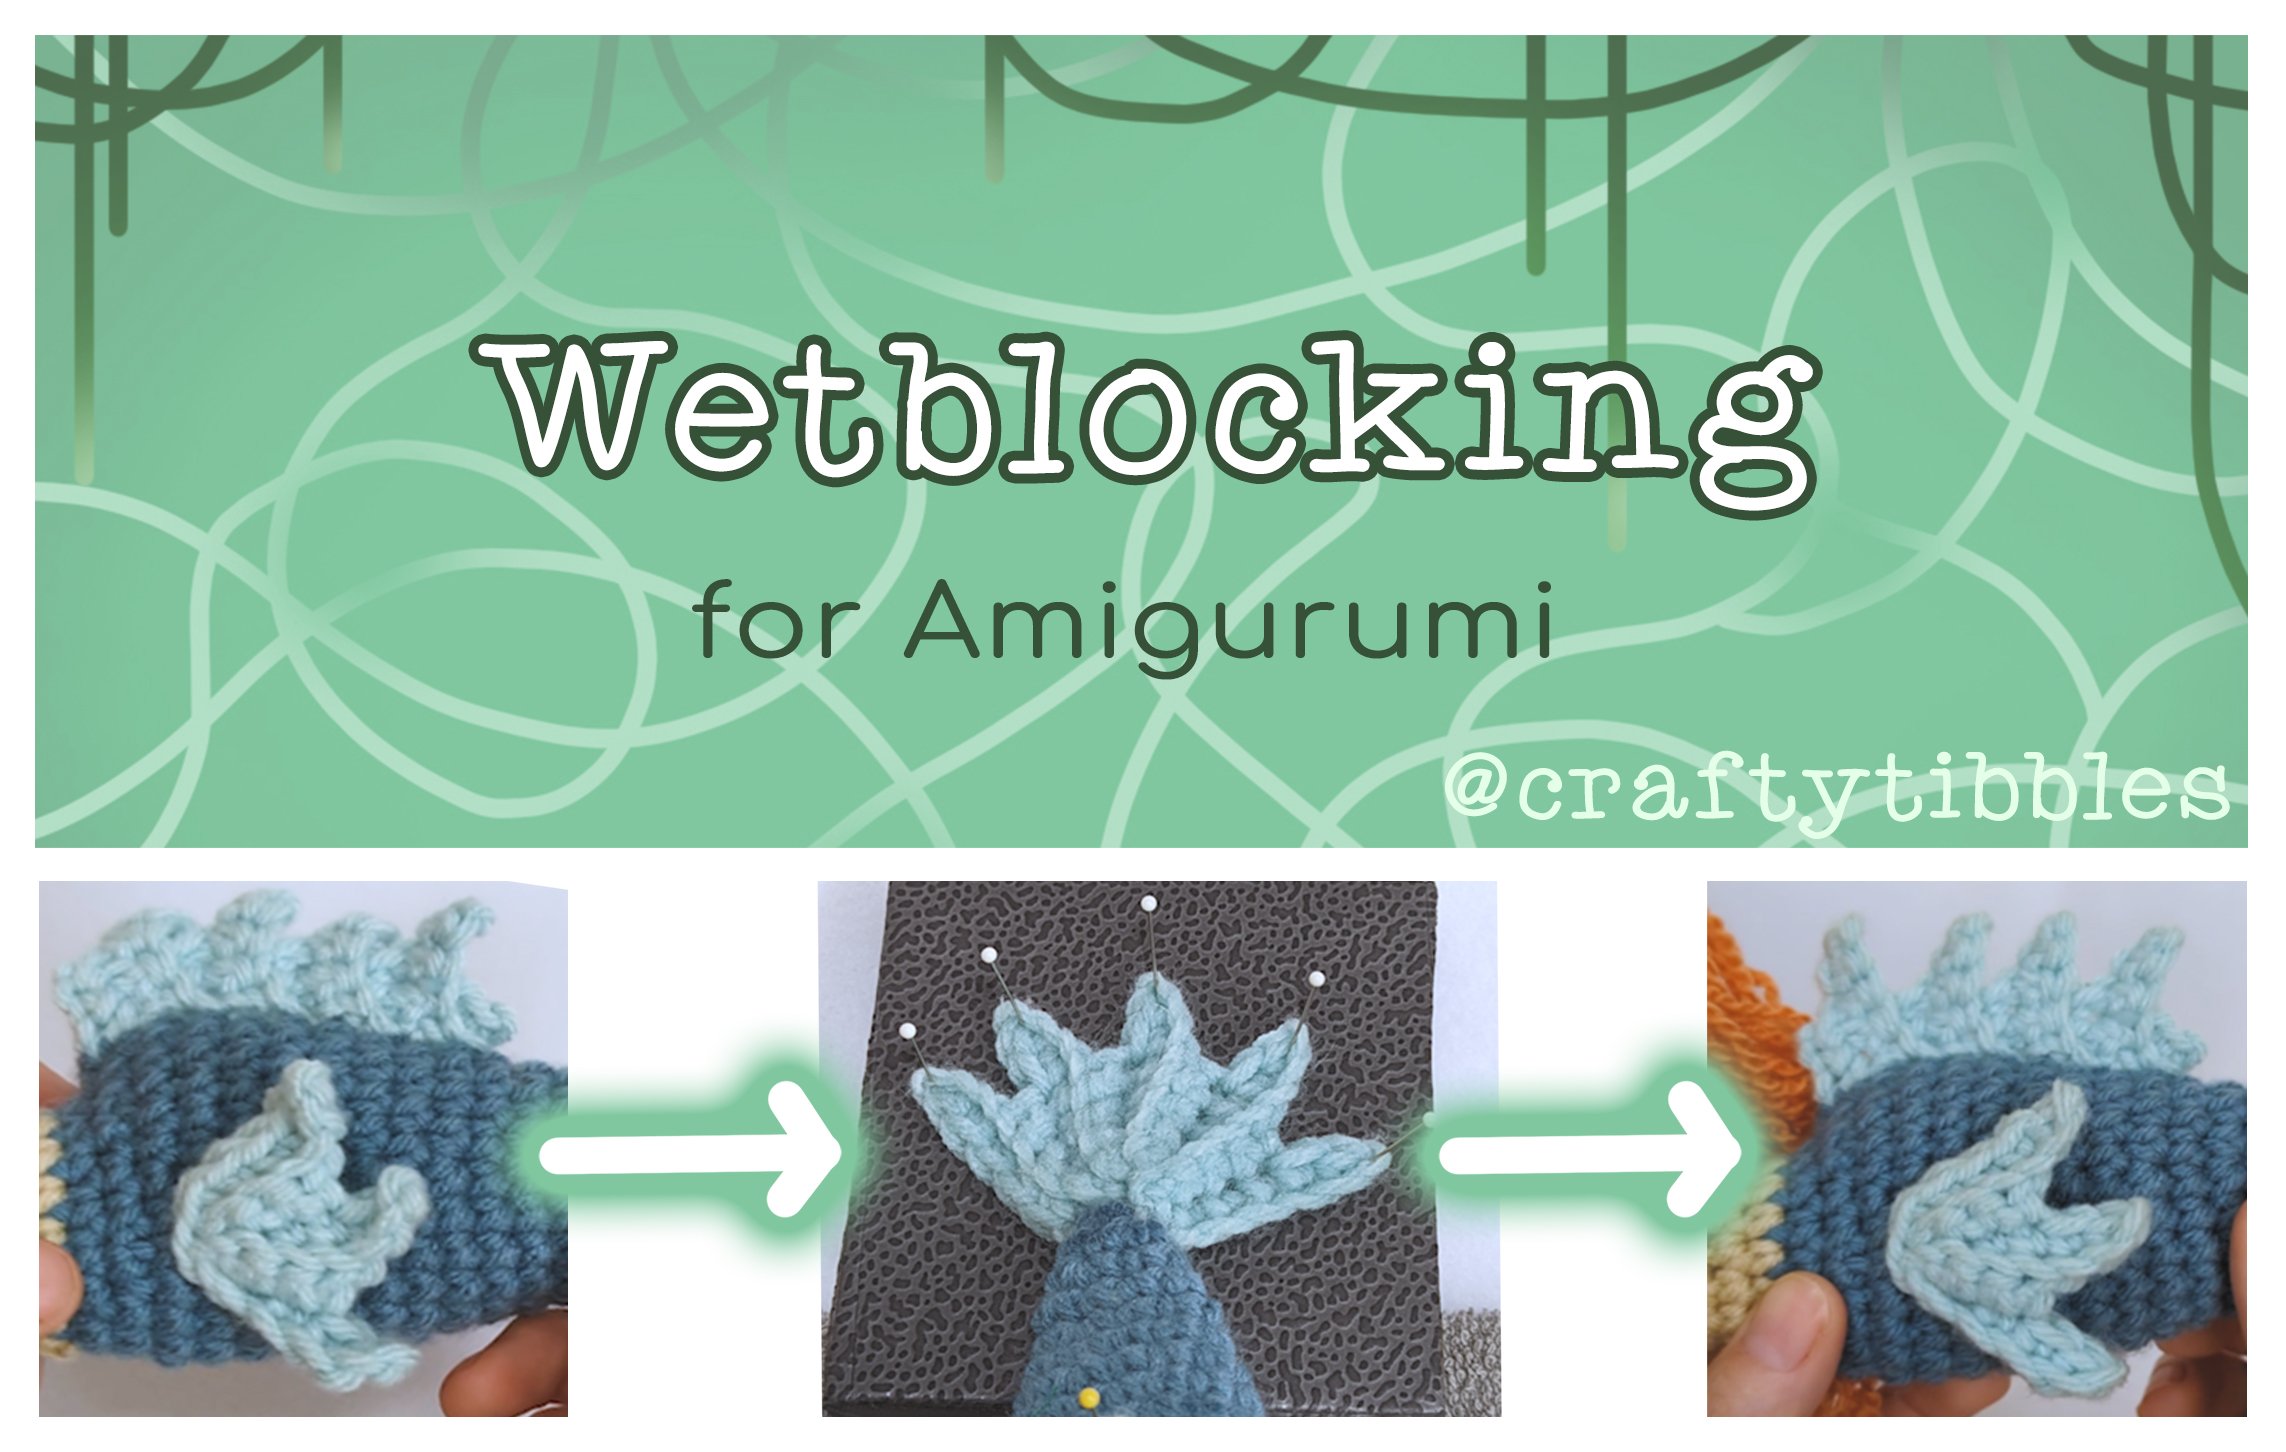
Wet Blocking Amigurumi


Wet blocking always comes up in scarves and blankets, but not usually amigurumi. I’ve even seen some say you CAN’T block acrylic yarn. I’m here to tell you that’s a bunch of malarkey, and in fact I find wet blocking my soft sculptures is a critical last step.
The general idea is to saturate the fiber with water, mold or pin it into shape, and let it dry. You’re left with crispier edges and fuller, fluffier stitches.


I take it a step further and mix a glue and water solution for an extra starchy hold. They make products that do this (one is called “Sitffen Stuff”, mostly for doilies), but I’ve never used it because…… it’s probably just glue + water. You also get more control over the solution this way. (For tiny stuff like teeth and fingers, I might use a higher ratio of glue.)


Let dry in front of a fan

Let dry in front of a fan

In some cases I’ll block a piece before sewing it on, but usually on dolls I’ll block the whole thing at the end. I lay out a towel, and just splish-splash my hands in it, scultping and molding it into the doll where it’s needed. I try not to submerge stuffed pieces too much- you don’t want to soak the fiberfill inside, just the crocheted fabric.

Anything with picots, corners, embroidery, or flat little shapes gets extra attention. When making small triangles (like in Zuko’s hair), they tend to curl up when fresh off the hook. This fixes that!


So give it a try on your next project. It can really take a sad lumpy sock and turn it into a sharp, defined shape- and even fill some holes or other blemishes.

3D Printing for Dolls

So I know I’m mixing and matching some costume bits, BUT THAT’S ART BABY

So I know I’m mixing and matching some costume bits, BUT THAT’S ART BABY


printer.jpg

We got a 3D printer a while ago, and I keep forgetting about it because it turns out 3D modeling makes me hella angry and fussy. It’s extremely cool though. I’ve wanted one forever and they’re finally affordable and good.

So I’m always looking for an excuse to utilize it.

I have the Elegoo Mars, famous for being cheap and surprisingly great. It prints by curing a liquid resin with UV light, layer by layer. The future is p dang cool.


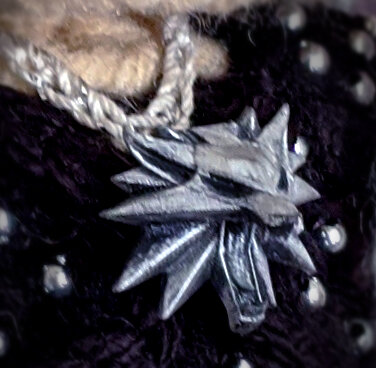
I found this model on Thingiverse, and shrunk it down to about 22mm. I added 2 tiny holes in the back to glue a loop of wire into, (turning it into a button I could sew to him.) I fussed with it for way too long, made a few versions, then it took about 1.5hr to print in black resin.

It didn’t require much cleanup because it’s SO TINY. I filed off a couple bumps from the scaffolding, but that was about it.


rubnbuff.jpg

I used a silver leaf Rub ‘n Buff and a teensy tiny paint-applicator. A little of this stuff goes a LONG way and can get messy quick.

I hit the high points of the model- not trying to soak this thing in silver, but leave the recesses black.

A little rubbin’ and buffin’ later, I cleaned it with some canned air, and sewed it to his chest.


I’m happy with how it came out, and am trying to think of more ways to use my powers of 3D printing with crochet.

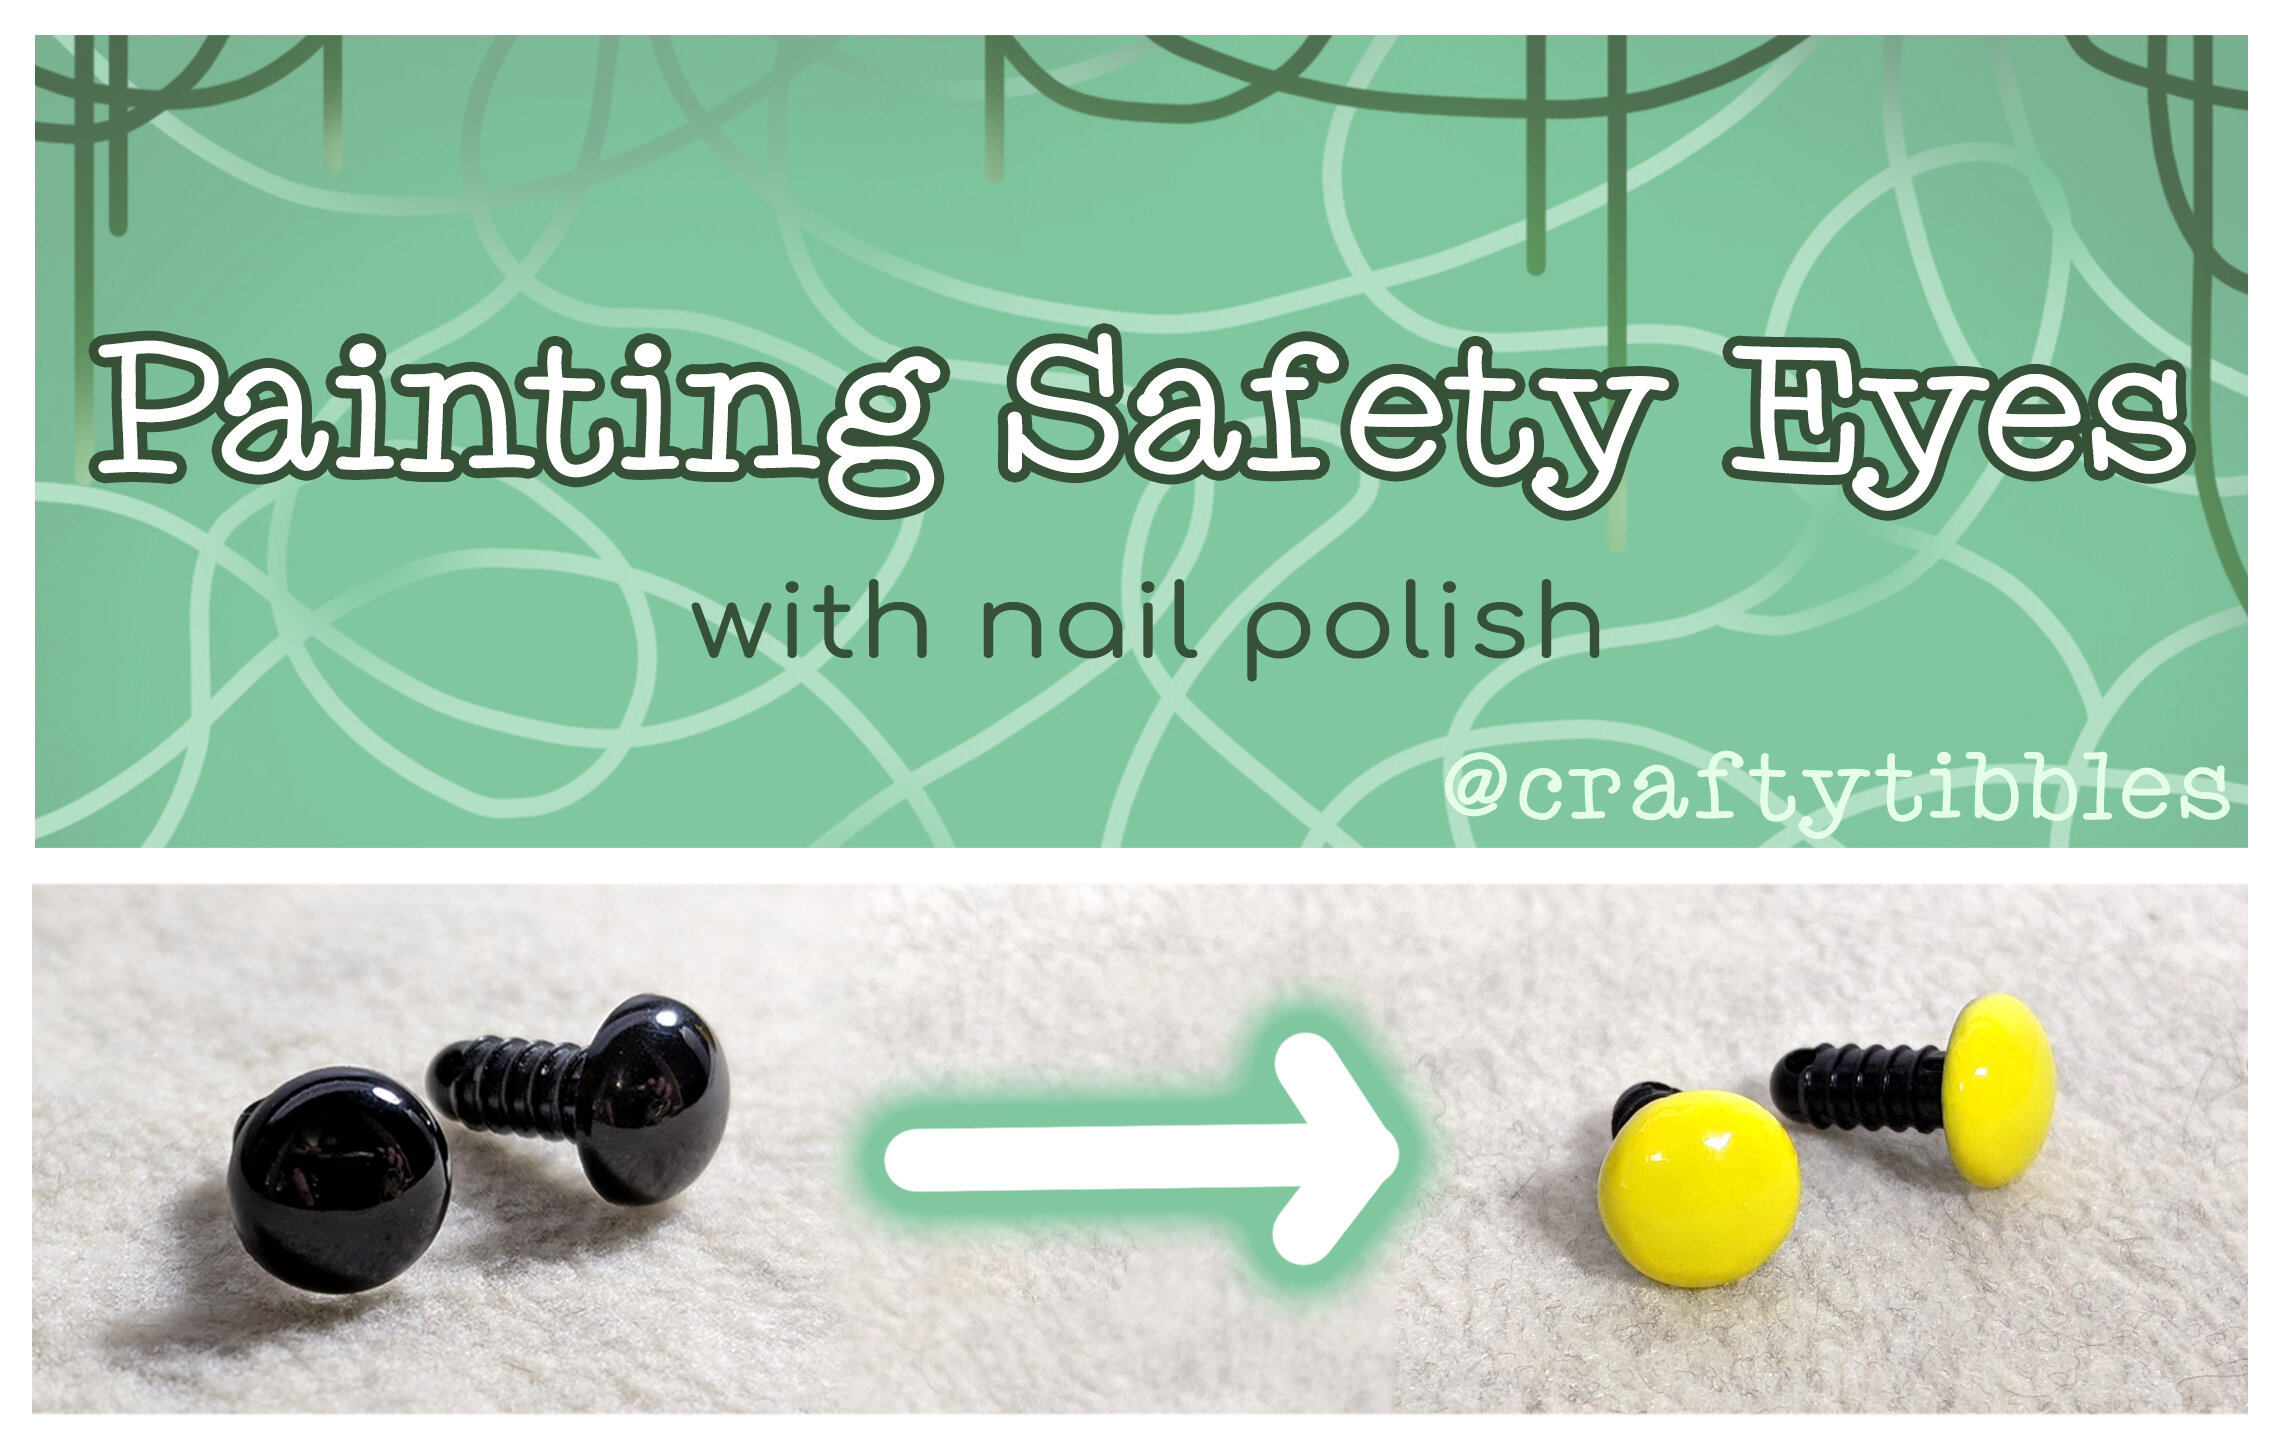
Painting Safety Eyes

eyeball_paint_cover.jpg

Sometimes you want different colored eyes, and they just don’t exist. There’s the creepy teddy bear ones, and neat kitty-cat eyes, sure. But when you wanna get specifically weird, you’re gonna have to paint them yourself.


materials.jpg

You will need:

•Plastic safety eyes

•Nail Polish & Clear Coat (or acrylic spray paint)

•Rubbing Alcohol

•Sandpaper

•Cardboard box


Step 1: Sanding

Step 1: Sanding

First, sand the face of your eyes. Work in circular motions until you have no shiny patches. You can use any scrap of sandpaper, or an emery board in a pinch.


Step 2: Cleaning

Step 2: Cleaning

Brush the dust off, and drop them in a small dish of rubbing alcohol. Meanwhile, poke small holes in a cardboard box to hold your eyes. We’re trying to remove all the dust and oils from the painting surface, so try not to handle them too much. Alcohol evaporates very quickly, so let them air dry for a few minutes on the box.


Step 3: Painting

Step 3: Painting

Paint your eyes like you would nails. Depending on the color and coverage, they will need 2-4 thin coats. Dry in front of a fan between coats. (First picture is after 1 coat) If you find your polish is sinking down to the sides as it dries, try flipping them to dry upside down on the second or third coat. (Second picture) Finish them with a single clear coat for an extra shiny and durable finish.

You can also use a rattle can of acrylic spray paint, with the same steps. Work in multiple thin layers when painting. Depending on what I have on hand, I switch between polish and paint.


And that’s it! Once they’re dry and cured, they’re ready to use!

Peekaboo~

Peekaboo~

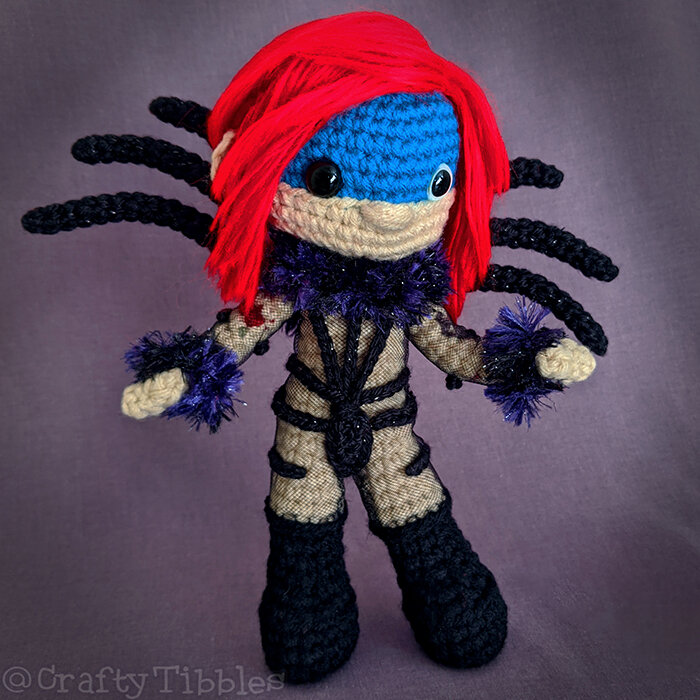
Making Marilyn Manson

So I just finished this project for funsies:

Marilyn Manson

Rock is Dead

I put some 18g wire in the big shoulder spikies to hold them up.

My fav look by Marilyn Manson~

I wanted to recreate it, but I knew the body suit was gonna be a whole THING.

I went through a couple different fabrics, and settled on tulle. It doesn’t fray, and I figured it’d be the easiest to sew.

I crocheted the whole thing first, and laid out the pieces.

Here's a time lapse of me crocheting his right arm

I wrapped each arm, and the torso with the tulle, and pinned it with about 500 pins and poked myself a dozen times. I split it between his legs and had a seam on each inside leg.

Using sewing thread, I carefully sewed the edges to the crochet with a blanket stitch. I whip-stitched up the major seam on the arms and the back. I should have started somewhere less visible, because I got better at it as I went along.

Then in sparkly black yarn, I made a bunch of chains and sewed them on top of that, with the black thread.

In conclusion, yes, it was indeed a Whole Dang Thing.

2020-02-04 20.24.48.jpg
2020-02-06 16.10.35.jpg
bunz 🍑

bunz 🍑

2020-02-06 18.52.13.jpg